How Do You Install Temporary Fencing?
POSTED ON November 12, 2020 | BY Angela Phillips
Temporary fencing is one of the most important site rentals for construction sites, outdoor special events (who wants wedding crashers?), and large public events like carnivals and fairs. Temporary fencing is useful because it can be moved and shifted as needed, and when properly installed, it serves as an effective barrier that can keep people safe and perimeters secure. So, how do you install temporary fencing? It’s not very difficult, but it does need to be done correctly to keep it secure. The last thing you want is fencing blowing over or creating a hazard.
One special note on fencing: in some areas, installation must be done by qualified technicians and OSHA has construction temporary fence regulations in place. Your temporary fence rental company will be able to help guide you on any local regulations.
1. Assess the Space
Temporary fencing requires level, sturdy ground. It’s best to install fencing during good weather, because mud, rain and wind will make installing your temporary fencing more challenging. Avoid installing fencing on slippery, muddy surfaces or areas where there are sharp dips or changes in elevation. One rainstorm could knock your fencing down. Take the time to survey your space and find the most level, clear, and solid foundation.
2. Establish the Perimeter
Map out where you plan to put down the fence. We have a temporary fencing tool to help you do that. Once you know roughly where your fencing will go, establish the boundary with a line of spray paint on the ground or by setting up cones and caution tape to mark where the fence will go. As a side note: setting up caution tape will help you visualize the fence and will help keep the public away while you’re installing the fencing, which provides a temporary barrier while you work.
3. Set Up the Base
You’ll need to lay out base blocks to secure your temporary fencing. Base blocks generally come with your fencing rental and they’re easy to use. They’re heavy and keep the fencing panels securely in place along your perimeter. Lay the first base block for your temporary fencing, then place a fence panel in the block. You’ll put a second block beneath the panel on the other side. Next, you’ll insert the next panel into that block and add another block on the other side of that panel. You’ll use this same technique of inserting a leg of each fence panel into a base block all around your perimeter.
4. Use a Fence Clamp
Connect the first two panels with a fence clamp. A fence clamp stabilizes the fencing and prevents it from wobbling, so tighten the clamp well. Continue to install the fencing all the way around your perimeter by installing one panel at a time and linking pairs of panels with fence clamps. If you’re adding a gate, install it in the same way using base blocks and fence clamps.
5. Install Safety Stays
Safety stays are anchors that keep the fence upright. They’re an important part of the safety and stability of your fence. You’ll install the stays after the entire fence has been assembled. Connect stays to the backs of the fencing panels using brackets near the middle and at either end of the temporary fence. Keep the stays weighted down with something heavy, like a sandbag.
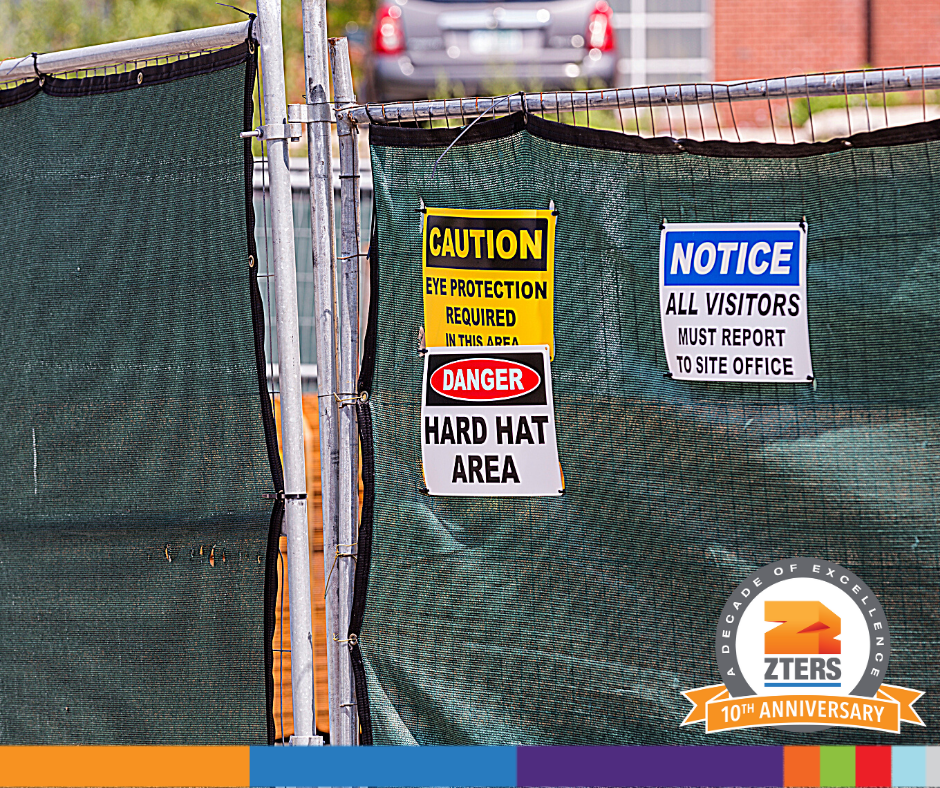
6. Install Wrapping (If Required)
If you’re installing temporary fencing around a construction site, you may be required to install wrapping around the fence to prevent debris and dust from leaving the construction site. Some companies use banner mesh, other companies use shade cloth rolls. There are different options depending on what you need. Your temporary fence rental company will be able to help you decide what kind of wrapping to choose. Wrapping is rolled on and secured with clips or ties.
7. Inspect Periodically
Temporary fencing can shift over time, especially if it is in a public area. Fencing also gets moved or knocked over during heavy storms or inclement weather, but installing a temporary fence in winter can be done. Check your temporary fencing periodically to ensure it’s in good condition, where you intended it to be, and it’s not creating problems for the public. Some other tips:
- Treat the area for weeds in spring and spray the spaces between and inside base blocks.
- Sandbags can burst or leak slowly over time, so check sandbags periodically to ensure they’re not damaged.
- If there is a risk of your fence toppling over in the wind, set up the fencing panels in a zig-zag pattern, or install a perpendicular panel every 5 panels, to keep the fence stabilized.
Installing temporary fencing correctly will keep your site secure as well as prevent the fencing from falling over. Your temporary fencing rental company can help you choose the right fencing and installation options for your location. We’ve been helping construction and outdoor event coordinators rent and install temporary fencing since 2009. Give us a call to schedule fencing or bundle all your site services in one package.